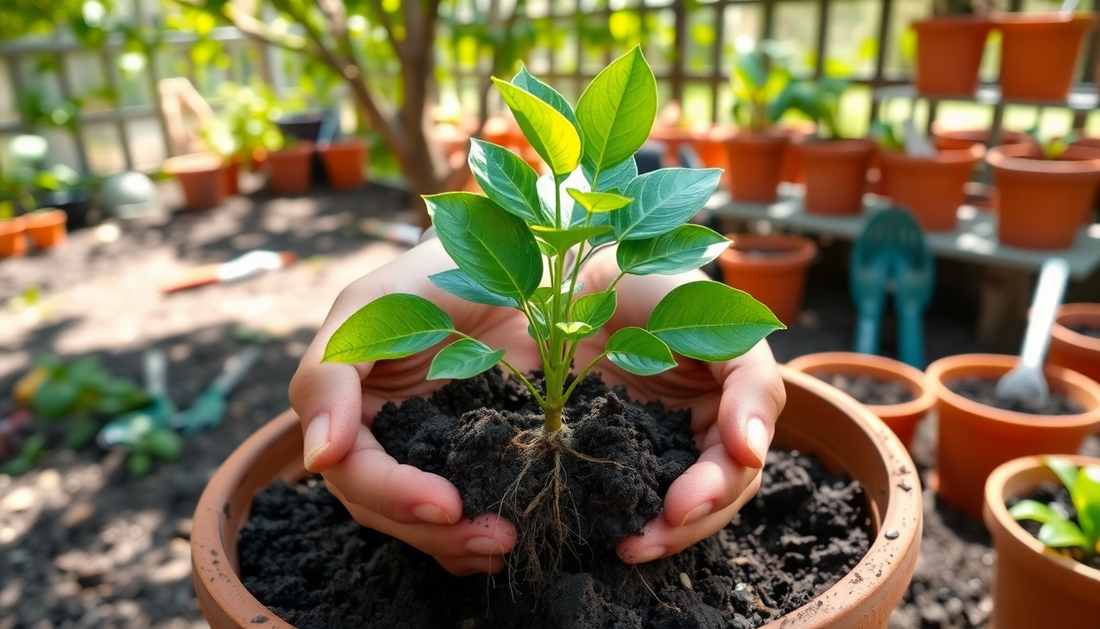
Transplanting a Curry Leaf Tree: A Step-by-Step Guide
Curry leaf trees are a beloved addition to many gardens, prized for their aromatic leaves and their ability to thrive in a variety of climates. Whether you're a seasoned gardener or a newcomer to the world of plant care, transplanting a curry leaf tree can be a rewarding and satisfying experience. In this comprehensive guide, we'll walk you through the process of successfully transplanting a curry leaf tree, ensuring your plant's health and longevity.
Preparing for the Transplant
Before you begin the transplanting process, it's essential to ensure that your curry leaf tree is healthy and ready for the transition. Examine the plant carefully, looking for any signs of disease or pests. If the tree appears to be in good condition, you can proceed with the transplant.
Choosing the Right Time
The best time to transplant a curry leaf tree is during the cooler months, typically between late fall and early spring. This timing allows the plant to establish its roots before the hot summer months arrive, reducing the stress on the tree and increasing its chances of survival.
Selecting the New Location
When choosing a new location for your curry leaf tree, consider factors such as sunlight exposure, soil quality, and drainage. Curry leaf trees thrive in well-draining, nutrient-rich soil and prefer a spot that receives partial to full sun throughout the day.
Gathering the Necessary Tools
To ensure a smooth transplanting process, gather the following tools:
- Shovel or spade
- Pruning shears
- Burlap or a large, sturdy container
- Compost or well-rotted organic matter
- Water
Digging and Transplanting
-
Prepare the New Planting Hole: Begin by digging a hole in the new location that is slightly larger than the root ball of your curry leaf tree. The hole should be shallow, with sloping sides to make it easier for the roots to spread out.
-
Prune the Roots: Using your pruning shears, carefully trim any damaged or overgrown roots. This will encourage the growth of new, healthy roots and help the tree establish itself in the new location.
-
Dig Around the Tree: Carefully dig around the tree, starting at a distance of about 12 inches from the trunk and working your way outward. Aim to preserve as much of the root system as possible.
-
Lift the Tree: Once you've loosened the soil around the tree, gently lift the root ball from the ground. Be careful not to damage the roots during this process.
-
Wrap the Root Ball: If the root ball is fragile or the tree is too large to move in one piece, wrap the root ball in burlap or place it in a large container to protect the roots during transport.
-
Transport the Tree: Carefully move the tree to its new location, taking care not to damage the roots or the trunk.
-
Plant the Tree: Place the tree in the prepared hole, making sure that the top of the root ball is level with the surrounding soil. Backfill the hole with a mixture of the original soil and compost or well-rotted organic matter.
-
Water Thoroughly: After planting, water the tree thoroughly, ensuring that the soil is evenly moist but not waterlogged.
Caring for the Transplanted Tree
Proper aftercare is crucial for the success of your transplanted curry leaf tree. Here are some tips to ensure a healthy recovery:
Watering
Keep the soil consistently moist, but avoid overwatering. During the first few weeks, water the tree deeply every few days, and then gradually reduce the frequency as the tree becomes established.
Mulching
Apply a 2-3 inch layer of organic mulch, such as wood chips or shredded bark, around the base of the tree. This will help retain moisture and suppress weed growth.
Fertilizing
About a month after transplanting, apply a balanced, slow-release fertilizer around the base of the tree, following the manufacturer's instructions. This will provide the necessary nutrients for the tree to thrive.
Pruning
Prune any damaged or dead branches to encourage new growth and maintain the tree's shape. Avoid excessive pruning, as this can stress the tree during the establishment phase.
Sun Exposure
Monitor the tree's exposure to sunlight and provide shade if necessary, especially during the hottest hours of the day. This will help prevent leaf scorch and reduce transplant shock.
Troubleshooting Common Issues
Despite your best efforts, your transplanted curry leaf tree may encounter some challenges. Here are a few common issues and how to address them:
Wilting or Drooping Leaves
If the leaves start to wilt or droop, it may be a sign of transplant shock or underwatering. Increase the frequency of watering and monitor the soil moisture closely.
Yellowing or Browning Leaves
Yellowing or browning leaves can indicate a nutrient deficiency or too much sun exposure. Apply a balanced fertilizer and consider providing some shade for the tree.
Slow Growth
If the tree appears to be growing slowly, it may need additional time to establish its roots in the new location. Be patient and continue to provide the necessary care.
Conclusion
Transplanting a curry leaf tree can be a rewarding and satisfying experience, but it requires careful planning and attention to detail. By following the steps outlined in this guide, you can increase the chances of your curry leaf tree thriving in its new home. Remember to be patient, provide the necessary care, and enjoy the delicious and fragrant leaves that your transplanted tree will produce for years to come.


No comments