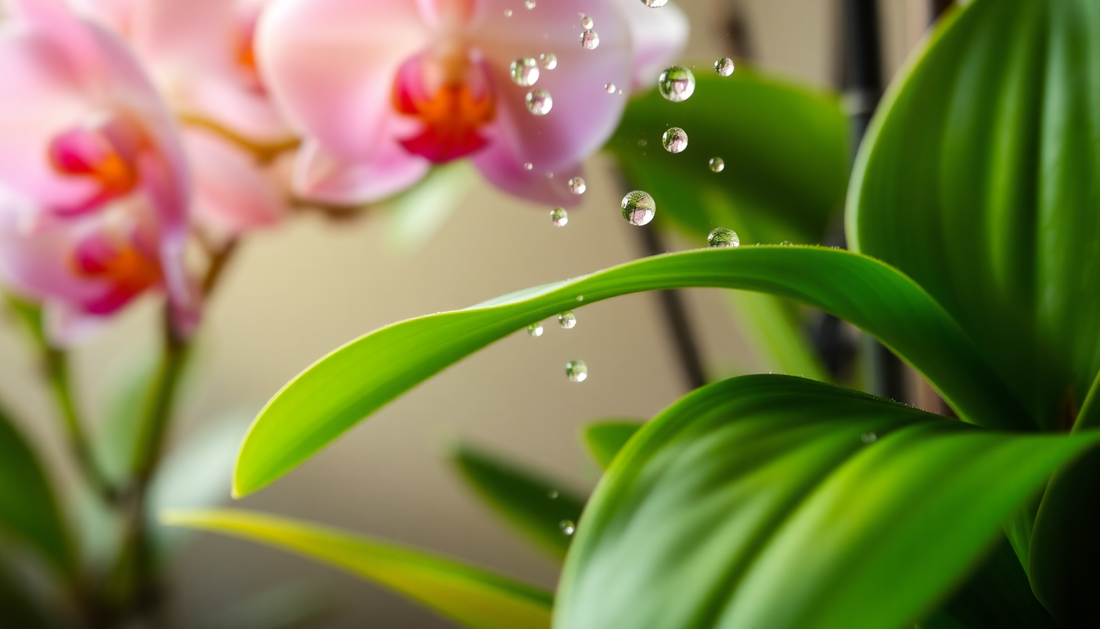
Reviving Droopy Orchid Leaves: A Comprehensive Guide
Orchids are undoubtedly one of the most captivating and sought-after houseplants, with their delicate blooms and elegant foliage. However, as any orchid enthusiast knows, maintaining the health and vigor of these plants can be a delicate balancing act. One common issue that orchid growers often face is the dreaded droopy leaf syndrome.
Droopy orchid leaves can be a frustrating problem, as they not only detract from the plant's overall aesthetic but can also be a sign of underlying issues that require prompt attention. In this comprehensive guide, we'll explore the various causes of droopy orchid leaves and provide you with the necessary steps to revive your beloved plants.
Understanding the Causes of Droopy Orchid Leaves
Droopy orchid leaves can be caused by a variety of factors, ranging from environmental conditions to cultural practices. Let's dive into the most common culprits:
Overwatering
One of the most common reasons for droopy orchid leaves is overwatering. Orchids are sensitive to excess moisture, and when their roots are waterlogged, they can't effectively absorb the necessary nutrients and oxygen. This can lead to the leaves becoming limp and droopy.
Underwatering
On the flip side, underwatering can also cause orchid leaves to droop. When the plant doesn't receive enough water, the leaves will start to wilt and lose their turgidity, resulting in a droopy appearance.
Improper Humidity Levels
Orchids thrive in environments with high humidity, typically between 50-80%. If the humidity levels in your growing area are too low, the leaves may start to droop as the plant struggles to maintain its moisture balance.
Temperature Fluctuations
Sudden changes in temperature can also stress orchids, leading to droopy leaves. Orchids prefer a relatively stable temperature range, typically between 65-85°F during the day and 55-65°F at night.
Nutrient Deficiencies
Inadequate or imbalanced nutrient levels can also contribute to droopy orchid leaves. Orchids require a specific blend of macronutrients (nitrogen, phosphorus, and potassium) and micronutrients to maintain their health and vigor.
Pests and Diseases
In some cases, droopy orchid leaves can be a symptom of pest infestations or disease. Aphids, mealybugs, and scale insects can all sap the plant's moisture, leading to wilting and drooping. Similarly, fungal or bacterial infections can also compromise the plant's overall health.
Reviving Droopy Orchid Leaves
Now that we've identified the potential causes of droopy orchid leaves, let's explore the steps you can take to revive your plants:
Step 1: Assess the Watering Needs
The first step in reviving droopy orchid leaves is to evaluate the plant's watering needs. Stick your finger into the potting mix to check the moisture level. If the mix is soggy, it's likely that the plant is being overwatered. If the mix is dry, the plant is underwatered.
Step 2: Adjust the Watering Regimen
If the plant is overwatered, allow the potting mix to partially dry out before watering again. If the plant is underwatered, water it thoroughly, making sure the roots are fully saturated. Avoid letting the plant sit in standing water, as this can lead to root rot.
Step 3: Optimize Humidity Levels
Increase the humidity around your orchid by misting the leaves regularly, using a pebble tray, or investing in a humidifier. Aim to maintain a humidity level between 50-80% to keep your orchid's leaves happy and healthy.
Step 4: Maintain Stable Temperatures
Ensure that your orchid is placed in a location with consistent temperatures, avoiding sudden fluctuations. If necessary, consider moving the plant to a more suitable spot or using a temperature-controlled grow tent or greenhouse.
Step 5: Provide Proper Nutrition
Fertilize your orchid with a balanced, orchid-specific fertilizer, following the manufacturer's instructions. This will help ensure that your plant is receiving the necessary nutrients to support healthy growth and leaf development.
Step 6: Inspect for Pests and Diseases
Carefully inspect your orchid for any signs of pests or diseases, such as discoloration, spots, or webbing. If you identify any issues, take appropriate action, such as applying a gentle insecticidal soap or fungicide, to address the problem.
Step 7: Be Patient and Consistent
Reviving a droopy orchid can take time and patience. Stick to your adjusted watering and care regimen, and be vigilant in monitoring your plant's progress. With consistent care and attention, you should start to see your orchid's leaves perking up and regaining their vibrant, healthy appearance.
Remember, every orchid is unique, and the specific care requirements may vary depending on the cultivar and growing conditions. By understanding the common causes of droopy orchid leaves and implementing the appropriate remedies, you can help your beloved plants thrive and maintain their stunning, elegant appearance.
Happy orchid growing!
Additional Resources
- The Orchid Society of America - A comprehensive resource for all things orchid-related, including care guides and troubleshooting tips.
- Orchid Care Guide by The Spruce - A detailed guide covering the basics of orchid cultivation and common issues.
- Orchid Diseases and Pests by the University of Florida - A helpful resource for identifying and treating orchid-specific pests and diseases.


No comments