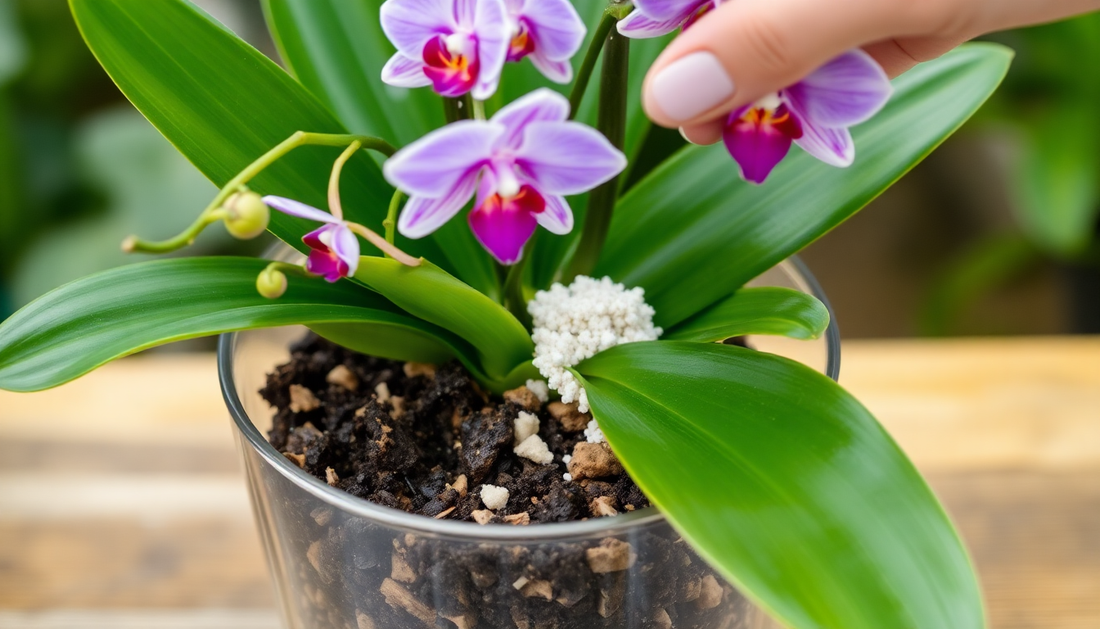
Revive Your Orchid's Potting Mix: A Guide to Rejuvenation
Share
As an avid orchid enthusiast, I know the importance of maintaining a healthy potting mix for these delicate plants. Over time, the soil in your orchid's container can become compacted, depleted of nutrients, and less able to provide the ideal growing conditions. This is where the process of rejuvenating the potting mix comes into play.
In this comprehensive guide, I'll share my expertise on how to breathe new life into your orchid's potting medium, ensuring your plants thrive for years to come. Whether you're a seasoned orchid grower or just starting your journey, these tips will help you keep your orchids happy and healthy.
Understanding the Importance of Potting Mix Rejuvenation
Orchids are unique plants that require a specific growing environment to flourish. Their potting mix plays a crucial role in providing the right balance of nutrients, aeration, and moisture retention. Over time, however, this delicate equilibrium can become disrupted.
As orchids grow, they absorb the available nutrients in the potting mix, leaving the soil depleted. Additionally, the constant watering and the natural breakdown of organic matter can cause the mix to become compacted, reducing airflow and drainage. This can lead to a host of problems, including root rot, nutrient deficiencies, and stunted growth.
Regularly rejuvenating the potting mix is essential to maintaining the optimal growing conditions for your orchids. By replenishing the nutrients, improving aeration, and restoring the ideal moisture-holding capacity, you can ensure your orchids continue to thrive and reward you with their stunning blooms.
Preparing for Potting Mix Rejuvenation
Before you begin the rejuvenation process, it's important to gather the necessary supplies and prepare your workspace. Here's what you'll need:
- Fresh, high-quality orchid potting mix
- Slow-release orchid fertilizer
- A clean, well-ventilated work area
- Pruning shears or scissors
- A clean container or pot
- Gloves (optional)
Once you have your supplies ready, follow these steps to prepare your orchid for the rejuvenation process:
- Carefully remove the orchid from its current pot, taking care not to damage the roots.
- Gently shake off any excess potting mix from the roots, being careful not to disturb them too much.
- Inspect the roots for any signs of rot or damage, and trim away any unhealthy or dead roots using your pruning shears or scissors.
- Clean the original pot thoroughly, ensuring it is free of any old potting mix or debris.
Now that your orchid is ready, you can begin the process of rejuvenating the potting mix.
Rejuvenating the Potting Mix
The key to successful potting mix rejuvenation lies in striking the right balance between replenishing nutrients, improving aeration, and maintaining optimal moisture levels. Here's a step-by-step guide to reviving your orchid's potting medium:
-
Add Fresh Potting Mix: Start by adding a layer of fresh, high-quality orchid potting mix to the clean pot. This mix should be specifically formulated for orchids, as it will provide the ideal balance of nutrients, aeration, and moisture-holding capacity.
-
Incorporate Slow-Release Fertilizer: Sprinkle a small amount of slow-release orchid fertilizer over the fresh potting mix. This will gradually release nutrients into the soil, providing a steady supply of essential elements for your orchid's growth.
-
Aerate the Mixture: Using your fingers or a small tool, gently loosen and aerate the potting mix, ensuring there are no compacted areas. This will improve airflow and drainage, which are crucial for healthy orchid roots.
-
Adjust Moisture Levels: Lightly mist the potting mix with water, taking care not to oversaturate it. The goal is to achieve a slightly damp, but not soaking wet, consistency. This will help the mix retain the right amount of moisture for your orchid's needs.
-
Repot the Orchid: Carefully place your orchid back into the rejuvenated potting mix, making sure the roots are evenly distributed and not crowded. Gently press the mix around the plant to secure it in place.
-
Water Carefully: After repotting, water your orchid sparingly, just enough to moisten the new potting mix. Avoid overwatering, as this can lead to root rot and other issues.
By following these steps, you'll have successfully rejuvenated your orchid's potting mix, providing a nutrient-rich, well-aerated, and moisture-retentive environment for your plant to thrive.
Maintaining a Healthy Potting Mix
Rejuvenating the potting mix is an important step, but it's equally crucial to maintain the soil's health over time. Here are some tips to keep your orchid's potting mix in top condition:
-
Monitor Moisture Levels: Regularly check the moisture content of the potting mix, adjusting your watering schedule as needed. Orchids prefer a slightly damp, but not waterlogged, environment.
-
Supplement with Fertilizer: Apply a balanced, water-soluble orchid fertilizer every two to four weeks during the growing season to replenish essential nutrients.
-
Repot Regularly: Depending on the size of your orchid and the growth rate, plan to repot your plant every one to two years, or when the roots begin to outgrow the container.
-
Avoid Compaction: Gently loosen the potting mix around the roots every few months to prevent compaction and ensure proper aeration.
-
Consider Organic Amendments: Incorporate small amounts of organic matter, such as sphagnum moss or bark chips, to improve the mix's moisture-holding capacity and overall structure.
By following these maintenance tips, you can ensure your orchid's potting mix remains healthy and supportive, allowing your plants to thrive for years to come.
Conclusion
Rejuvenating your orchid's potting mix is a crucial step in maintaining the health and vitality of these beautiful plants. By replenishing the nutrients, improving aeration, and restoring the ideal moisture-holding capacity, you can create the perfect growing environment for your orchids to flourish.
Remember, the key to success lies in understanding the unique needs of orchids and tailoring your approach to their specific requirements. With the right techniques and a little bit of care, you can keep your orchids thriving and rewarding you with their stunning blooms season after season.
Happy gardening!
