
How to Make a DIY Soil Sterilization Mix for Houseplants
As a passionate gardener, I know the importance of maintaining healthy soil for our beloved houseplants. One of the most effective ways to ensure your plants thrive is by sterilizing the potting mix before use. In this comprehensive guide, I'll walk you through the steps to create a simple, yet highly effective DIY soil sterilization mix that will help prevent common plant diseases and pests.
Understanding the Importance of Soil Sterilization
Healthy soil is the foundation for vibrant, thriving houseplants. However, potting mixes can often harbor harmful pathogens, fungi, and pests that can wreak havoc on your plants. By sterilizing the soil, you can eliminate these threats and create a clean, nutrient-rich environment for your plants to flourish.
Soil sterilization is particularly crucial when:
- Repotting plants that have been affected by disease or pests
- Introducing new plants to your home
- Preparing soil for starting seeds or cuttings
- Combating persistent soil-borne issues, such as fungus gnats or root rot
By taking the time to sterilize your potting mix, you'll be giving your plants the best possible start and reducing the risk of future problems.
Preparing the DIY Soil Sterilization Mix
To create your own soil sterilization mix, you'll need a few simple ingredients that you can easily find at your local garden center or online. Here's what you'll need:
- 1 part hydrogen peroxide (3% solution)
- 1 part white vinegar
- 2 parts water
The key to an effective soil sterilization mix is the combination of hydrogen peroxide and white vinegar. Hydrogen peroxide acts as a powerful disinfectant, killing a wide range of microorganisms, while the vinegar helps to lower the pH of the mixture, creating an inhospitable environment for pathogens.
To make the mix, simply combine the ingredients in a clean container and stir well to ensure they are thoroughly mixed. You can adjust the ratios to suit your needs, but the 1:1:2 ratio is a great starting point.
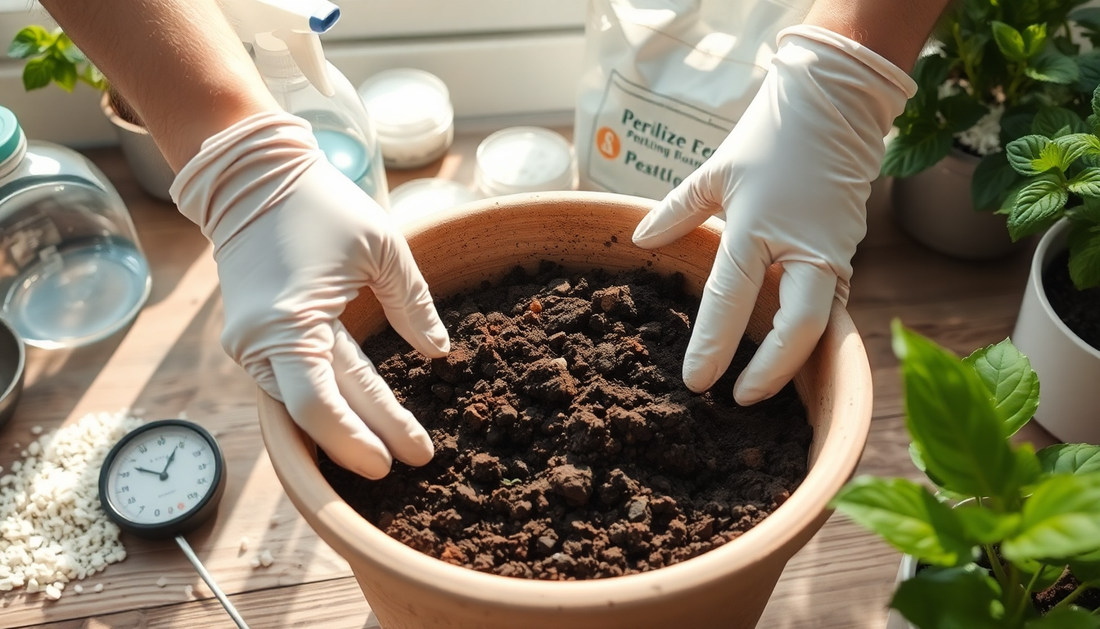
Applying the Soil Sterilization Mix
Once you've prepared your DIY soil sterilization mix, it's time to apply it to your potting mix. Here's how to do it:
-
Start with a clean, dry potting mix. If your mix is already damp, you can spread it out on a clean surface to allow it to dry.
-
Evenly distribute the soil sterilization mix over the potting mix, using a spray bottle or a watering can with a fine mist setting. Aim for a thorough, even coverage.
-
Gently mix the sterilization mix into the potting mix, ensuring that it's evenly distributed throughout.
-
Cover the treated potting mix with a clean, breathable material, such as a sheet of newspaper or a piece of burlap. This will help to retain moisture and prevent the mix from drying out.
-
Allow the treated potting mix to sit for at least 24 hours, but up to 72 hours for best results. This will give the sterilization mix time to work its magic and eliminate any harmful microorganisms.
-
After the waiting period, your potting mix is now ready to use for repotting, starting seeds, or any other gardening needs. Be sure to store any unused portions in an airtight container to maintain its sterility.
The Benefits of Soil Sterilization
Incorporating a DIY soil sterilization mix into your gardening routine offers numerous benefits for your houseplants:
-
Disease Prevention: By eliminating harmful pathogens and fungi, you'll significantly reduce the risk of common plant diseases, such as root rot, fungus gnats, and powdery mildew.
-
Pest Control: Many pests, including nematodes, larvae, and eggs, can be effectively eliminated through the sterilization process, helping to keep your plants pest-free.
-
Improved Plant Health: With a clean, nutrient-rich potting mix, your plants will have the best possible start, leading to stronger growth, vibrant foliage, and increased resistance to stress.
-
Reduced Maintenance: By proactively sterilizing your soil, you'll spend less time troubleshooting and treating plant issues, allowing you to focus on the enjoyment of gardening.
-
Sustainable Gardening: The DIY soil sterilization mix is an eco-friendly, cost-effective alternative to commercial soil treatments, making it a great choice for the environmentally conscious gardener.
Incorporating Soil Sterilization into Your Routine
Soil sterilization should be a regular part of your houseplant care routine. Here are some tips to help you make it a habit:
- Sterilize your potting mix before repotting or starting new plants.
- Treat any soil that has been affected by disease or pests.
- Sterilize your soil when changing seasons, as temperature and humidity fluctuations can encourage the growth of harmful microorganisms.
- Keep a batch of the DIY soil sterilization mix on hand, so you're always prepared.
- Consider sterilizing your tools, such as pruners and trowels, to prevent the spread of disease.
By making soil sterilization a consistent part of your houseplant care routine, you'll be well on your way to creating a thriving, healthy indoor garden that will bring you joy for years to come.
Conclusion
Maintaining healthy, disease-free soil is essential for the success of your houseplants. By creating and applying a simple DIY soil sterilization mix, you can effectively eliminate harmful pathogens, pests, and fungi, giving your plants the best possible start. With this knowledge in hand, you can confidently care for your indoor garden and watch your plants thrive. Happy gardening!


No comments